
Managing Linux Kernel Virtualization from Windows
Proxmox is a great open source product to manage Virtual Machines in a Linux based environment. You get graphical UI and a ton of other features. It is also a very specific solution and the idea is that you then dedicate the server machine to Proxmox. If you are not sure if you still want to install other programs on your server, or you just need a couple of Virtual Machines, a more lightweight solution is to just use the Linux built-in virtualization: KVM or Linux Kernel Virtualization.
The "problem" with KVM is that if you are using Windows as your workstation and you would like to manage your VMs from Windows, there really isn't a great graphical GUI to it. KVM has no built-in web management interface. You can do everything you need in the terminal, but let's face it, it is always nice to have a GUI too. There exists some projects, which you could install on your server, but they require a lot of packages to be installed on the server and if you prefer to keep your server as clean as possible, there is an alternative way.
With the help of something called "Windows Subsystem for Linux" or WSL for short, you can install a Linux native program called "Virtual Machine Manager" directly on your Windows workstation.
Prerequisities
- This guide expects that you already have a Linux server with KVM installed. In my case, I am using Debian and here is the "official" web site with instructions on how to install KVM on Debian: https://wiki.debian.org/KVM
- I am using a regular user account instead of root-account to manage the KVM Virtual Machines. To use libvirt and for example the virsh-command as a regular user, the user needs to be added to the libvirt-group on the KVM machine. This guide might work for the root-account too, but using a regular user account is more safe.
- At the time of writing, my workstation is Windows 11 Pro version 24H2, but this guide should work on Windows 10 as well as long as you have it updated.
Now, let's start to install the Virtual Machine Manager on a Windows workstation.
Install Ubuntu in WSL
First, install Ubuntu in WSL2 using the following command in as Administrator in Windows Terminal:
wsl --installIn case you are having trouble installing, you can look at the following instruction page for help:

Install Virtual Machine Manager
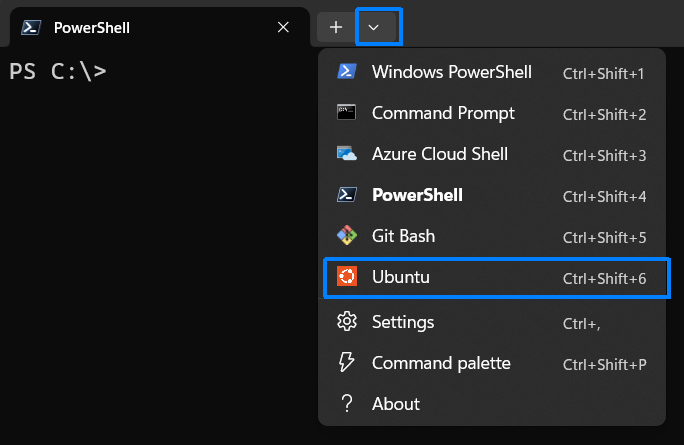
Once you have Ubuntu installed, you can open it's console by clicking the little down arrow in Windows Terminal and selecting Ubuntu from the list:
Now install the virt-manager package in Ubuntu as root or with sudo:
apt install virt-manager

This will install a lot of packages, because we are installing a GUI program. WSL2 has support for Linux GUI programs.
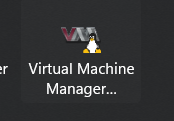
This should automatically add a new program to your Windows Start Menu:
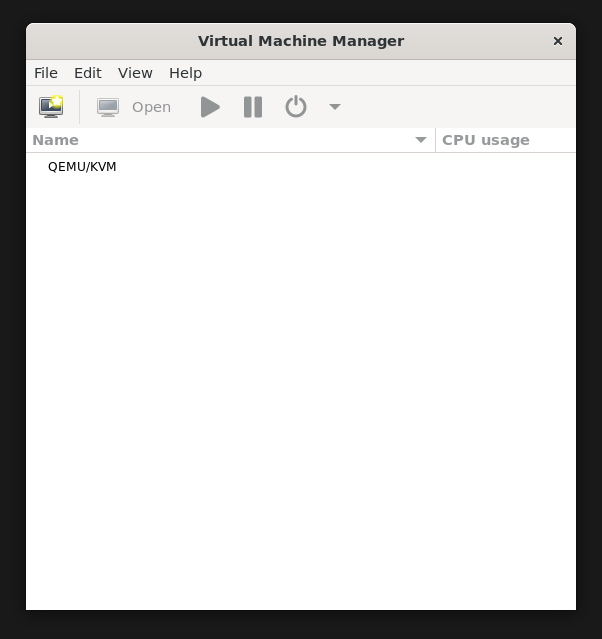
Test it out:
Accessing your KVM server
To access your KVM host in Virtual Machine Manager, first create a new ssh-key in Ubuntu as the regular user:
ssh-keygen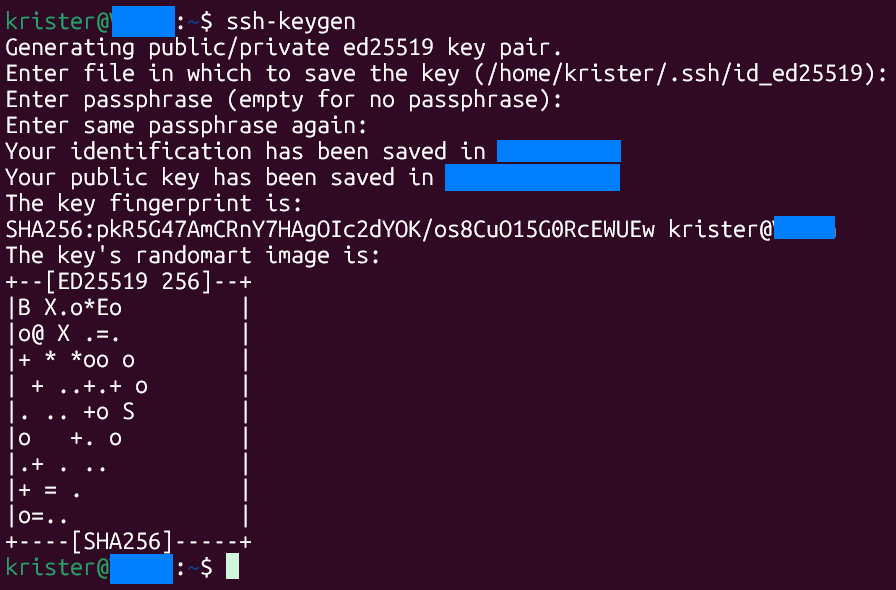
Go to your KVM host/server machine and add it as trusted key by copy pasting the contents of the generated .pub-file to the username/.ssh/authorized_hosts file.
Important step: you need to access the server from the Ubuntu one time by logging in with ssh:
ssh servername
Type yes to permanently add the host to the list of known hosts.
Now open the Virtual Machine Manager and add a new connection (File - Add Connection):
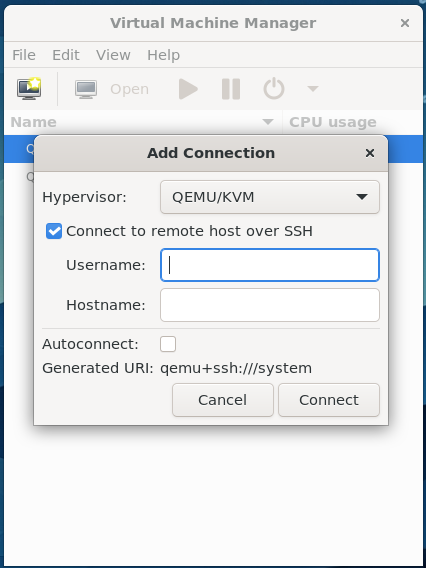
Tick "Connect to remote host over SSH" and type in your username and the hostname of the server. You can also tick "Autoconnect".
If everything went smoothly, you now have a nice GUI application for your Linux KVM Virtual Machines on your Windows workstation:
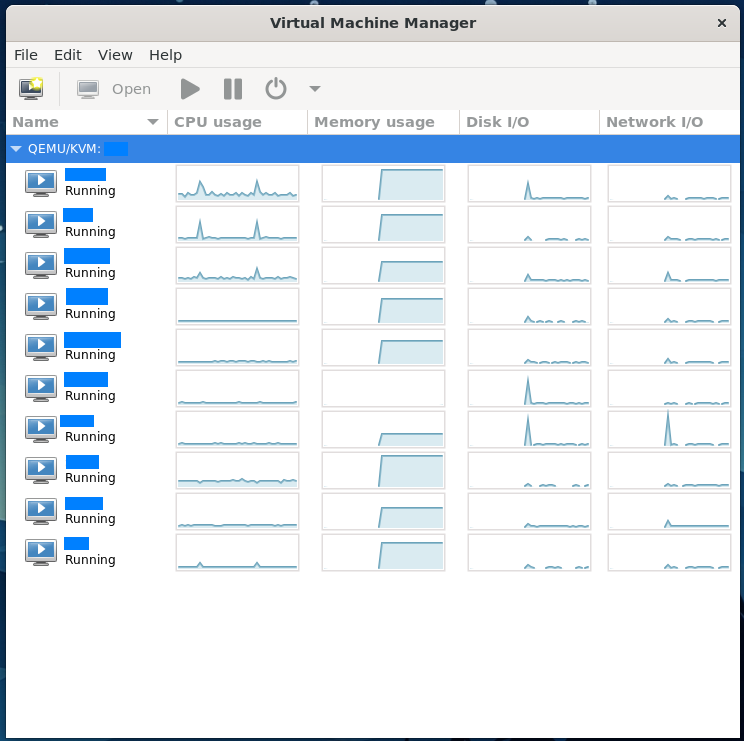
As you can see, I have been running quite a lot of VMs this way. AFAIK, this is also the "official" program to manage KVM virtual machines, so you can do almost everything with it. You can view the VM's console, adjust settings, create new VMs, take snapshots and monitor resource usage, all within a graphical GUI.
Troubleshooting
- If you are having trouble connecting to the KVM host server, and you are using a Debian based distro, you can try installing the following package:
apt install netcat-openbsd