
SSH Session managers vs. OpenSSH for Windows
Managing Linux servers from Windows requires a terminal program to access the Linux shell. Putty is probably one of the most used program in Windows when you want to connect to Linux servers. As good as it is, it's far from perfect. So there has been other programs offering more functionality, for example support for multiple sessions simultaneously.
I like simple solutions and in that mindset I began to search for a SSH session manager to manage all my virtual machines. Previously I had been using MobaXTerm and I still like the product. However, I really don't need all the features it offers and I wanted to look for a simpler solution.
The things I need from my SSH Session Manager software are
- Tabs to keep the sessions in
- Quick way to connect to a server using SSH keys instead of passwords for authentication
- A safe way to save the private keys but still use them without typing a password
- Possibility to make file transfers to servers using scp protocol
- Graphically clean UI, must work with Windows scaling (without blurryness)
- Support for a dark theme
I tried the following programs: MobaXterm, RemoteNG, SuperPutty, Terminus, Bitwise SSH Client, WinSSHTerm and Cmder. Some of them looked really nice, but were slow to use. Some looked old and blurry. Some were complicated with lot of extra features I wouldn't need.
Finally I stumbled upon the fact that Windows 10/11 already has OpenSSH built in. Combined with the fact that there is also a new terminal program available which offers a tabbed interface, things started to look interesting.
Windows Terminal
Let's take a look at the new Windows Terminal program first. At the time of originally writing this post, Microsoft had just released version 1.0 of the program. Now it is probably included in Windows by default, but if some reason you don't have it, you can download it from Microsoft Store.
It features a tabbed interface and enough customizability to suit my needs. It is fast to open and while it probably has some extra features that I don't need, the user interface is super minimal and clean.
OpenSSH on Windows
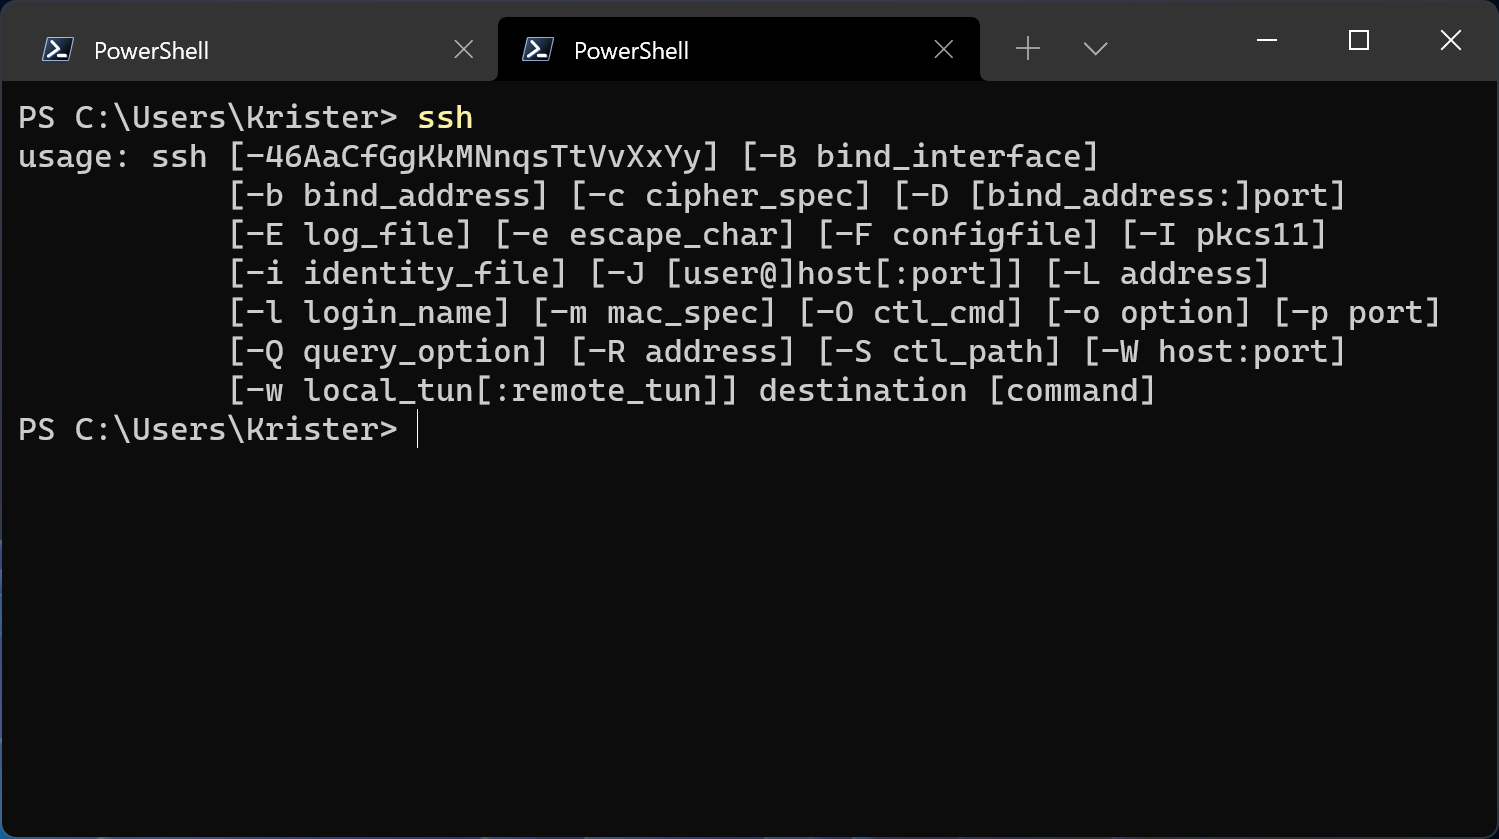
Now let's look at the OpenSSH for Windows. If you are familiar with Linux, you are probably familiar with OpenSSH too. You have servers running the SSH Daemon to which you can connect with the command ssh.
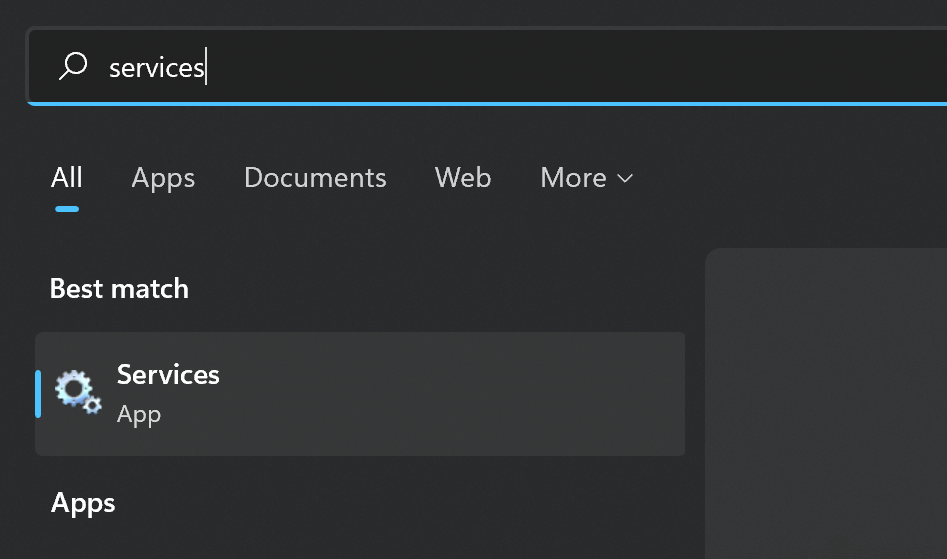
Typically you will have to input your user name and password when connecting to another server. However, we are going to use SSH keys in this guide. We'll start by making the keys, but first you should start by enabling the the "OpenSSH authentication agent service". This service is used to save your keys securely. Hit the Windows button and type Services.
Open the Services app and find the "OpenSSH Authentication Agent" service. Double click to open the settings and switch the startup type to "automatic".
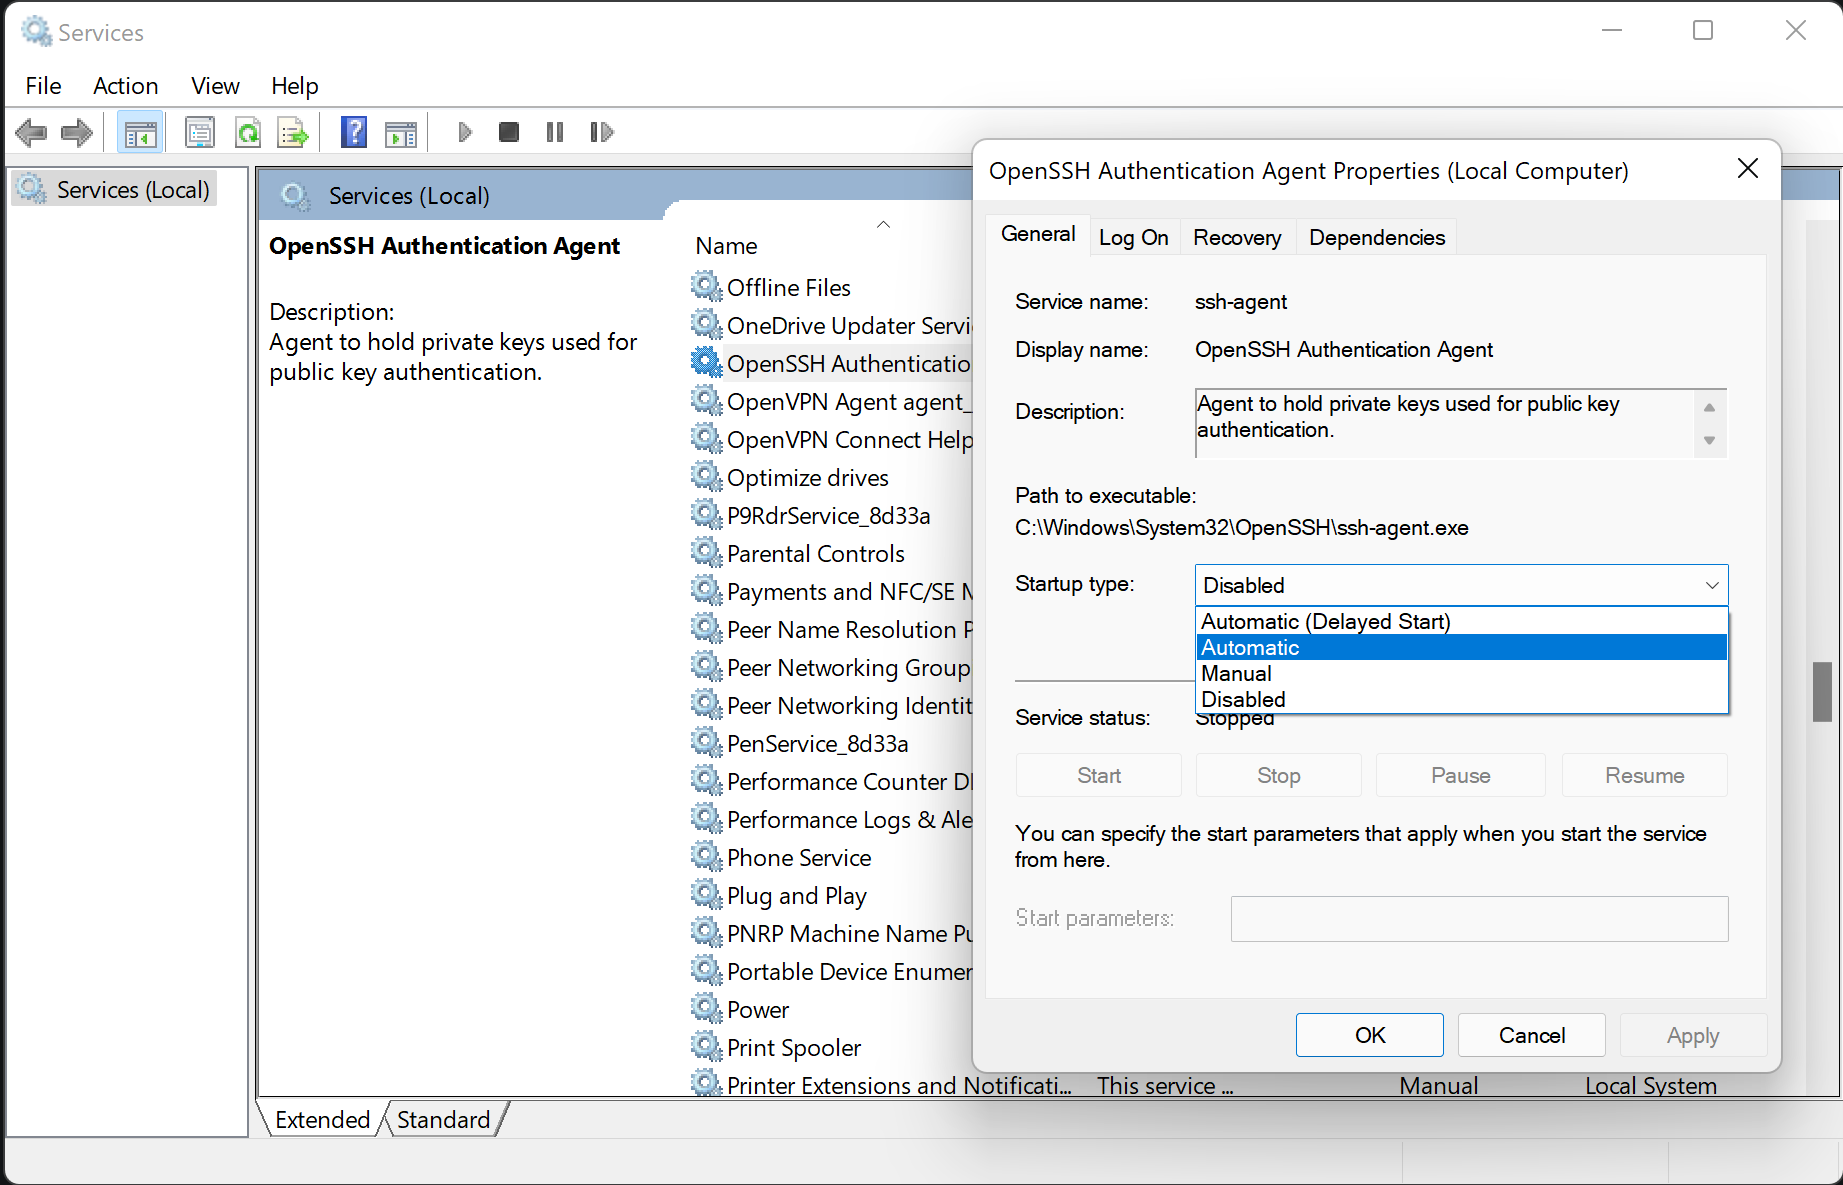
Then hit "Start". Now this service should start every time with Windows. I have however noticed that when you install a Windows Update, the service may go back to disabled. So you might need to repeat this process after some of the bigger Windows updates.
Generate the key pair
To generate a new ssh key and certificate pair, just type in the following command:
ssh-keygenYou can type in any name for the created key file. When asked for the passphrase, just press enter.
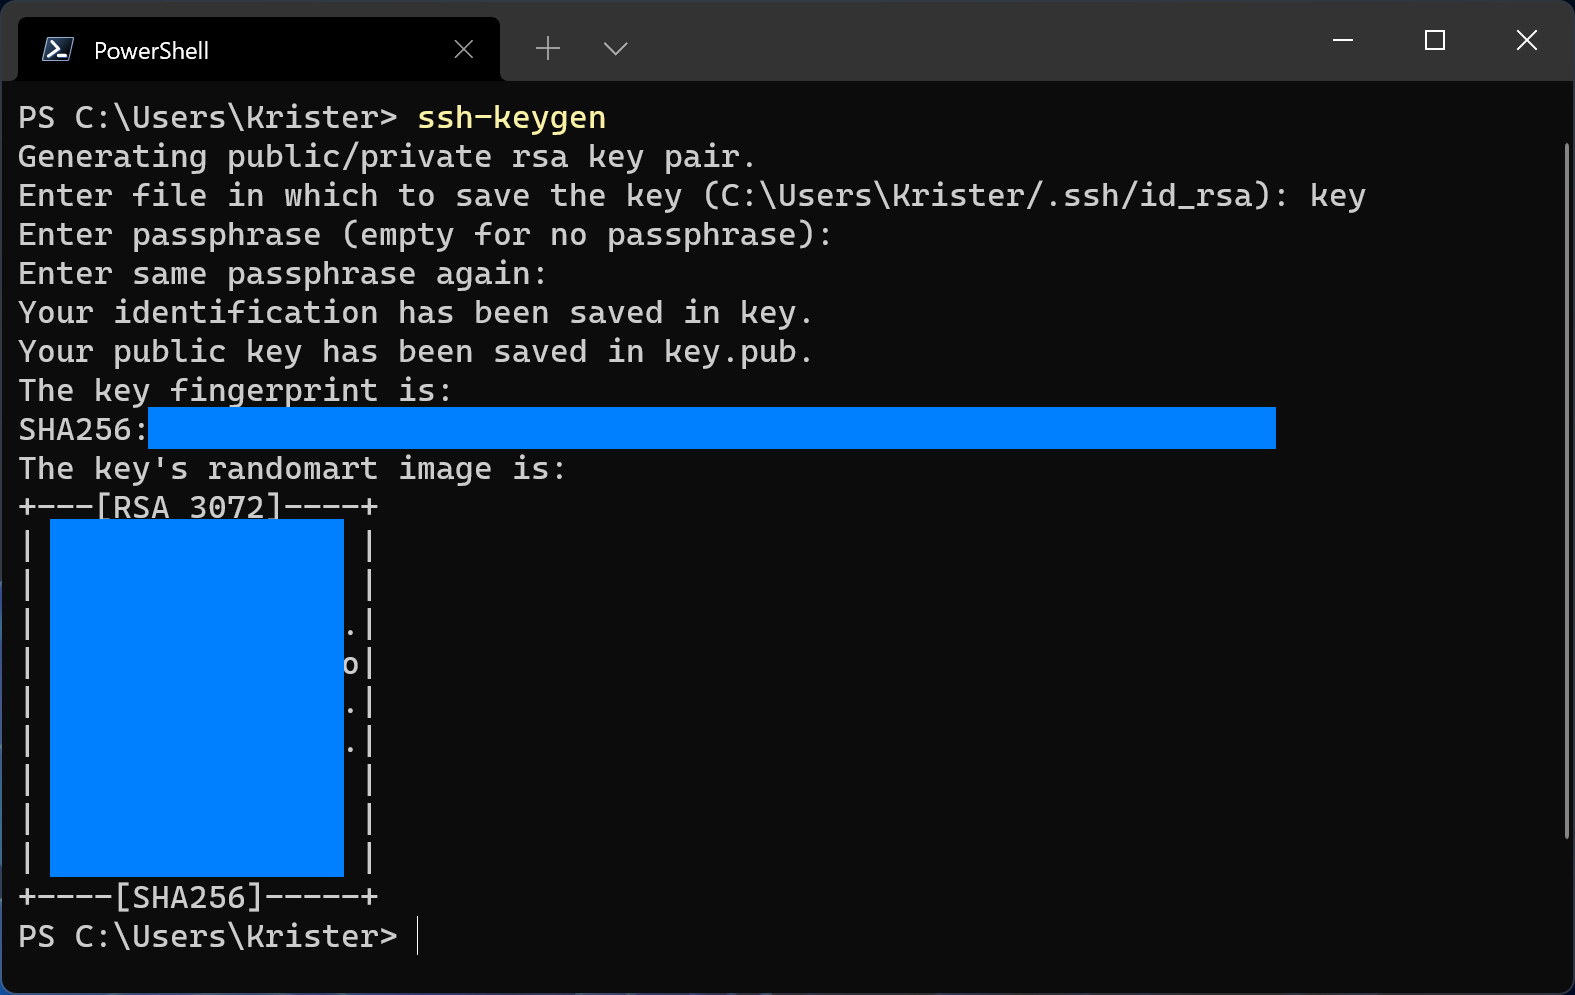
The command saves two files, the private key and the public key with a .pub extension.
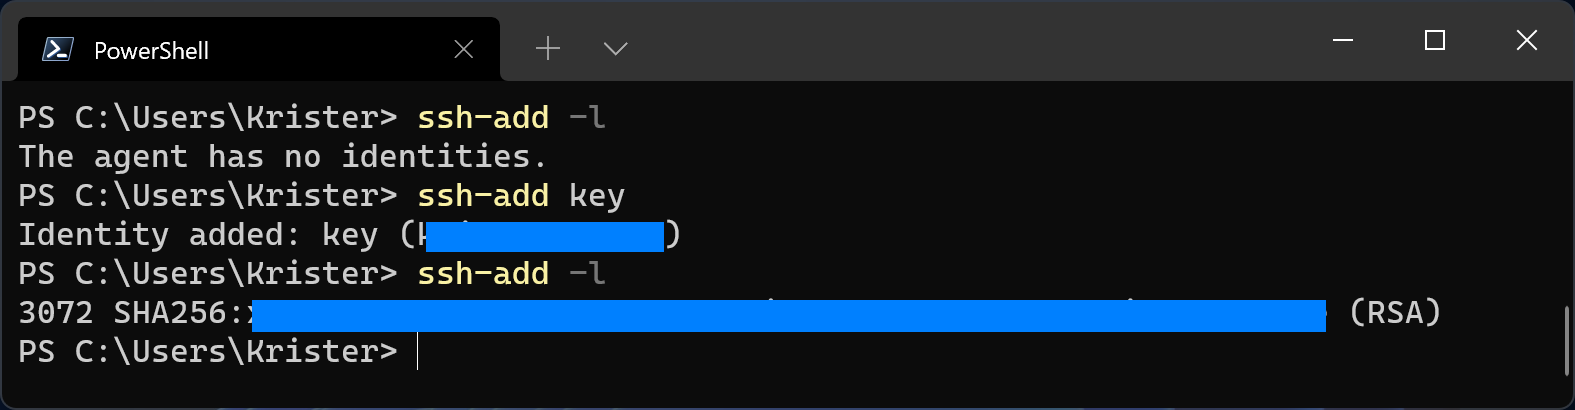
Next step is to store the private key in the ssh-agent service. The service will store it securely and use it automatically when connecting to a server.
ssh-add keyfile
To check that the key was added succesfully you can list the contents of the store:
ssh-add -l
Now according to the instructions from Microsoft, you should delete the created key from your hard drive. But before you do so, you could save a backup of both of the files to a secure location. I use Keepass for that. It allows you to attach files to the entries. So just make a new entry in Keepass and attach the private key and the public key to it.
Now you can remove the key file from your computer. Do not delete the .pub file as we need it for the next step.
Adding the keys to your servers
I will only briefly mention how to do this as this process is same as always. With Linux servers you will need to edit the file authorized_keys in the hidden .ssh directory in your users home directory. Add the public key as a new row and save the file.
Testing it out
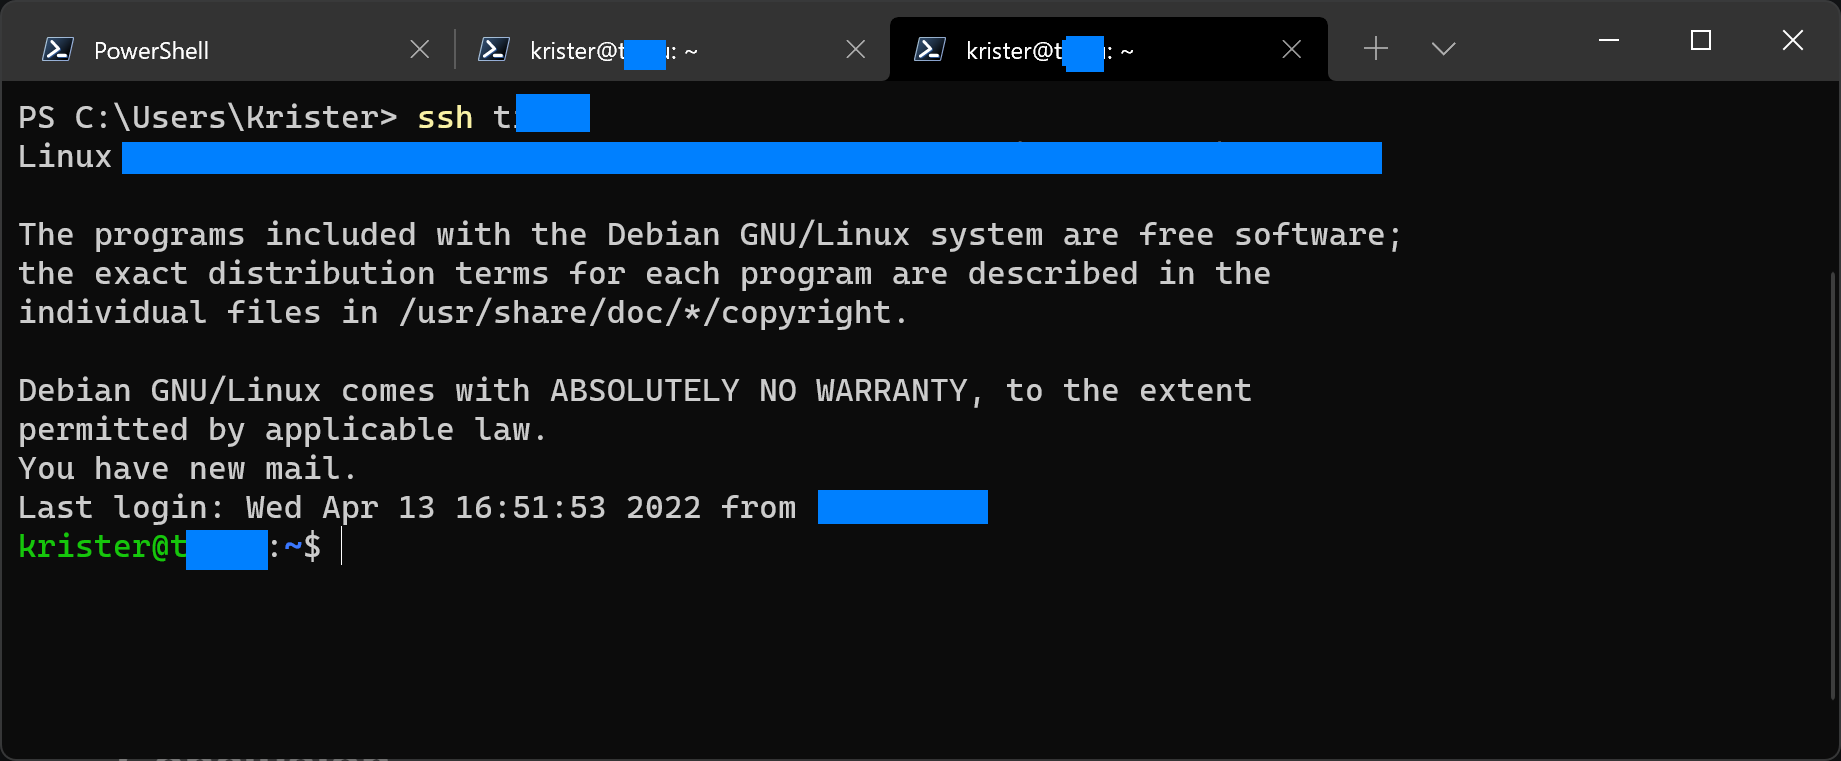
Now you should be able to login to your server by just typing ssh servername and the connection should open straight away.
If that is not working, you might need to add your username to the ssh config-file. The config file can be found in C:\users\yourusername\.ssh\. Create a file called "config" without the file extension. Add the following bit of code:
Host *
	User yourusername
	Port 22
Of course this requires that you use the same username on all servers.
Conclusion
In the end it turns out, you don't need a session manager software anymore. Windows has everything built-in required to managing your ssh server sessions. It has been coming closer to the Linux world in ways of doing things, which is definately a good thing.